TRED Trips | Coffs Harbour Part 1


The crew is back for a monster episode – and boy, did it not disappoint. From a few beautiful craft beers to multiple wheel lifts and nearly flipping completely on the track, this trip was definitely one for the books.
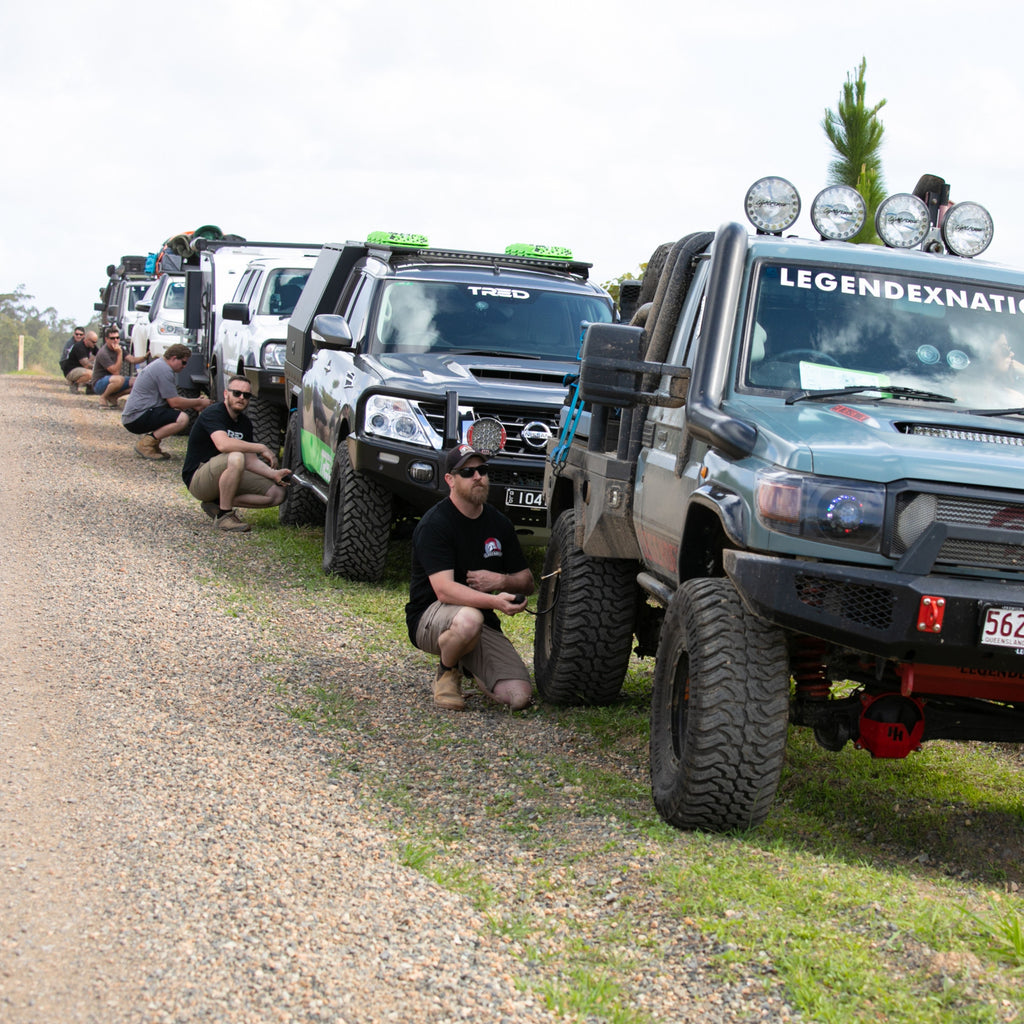
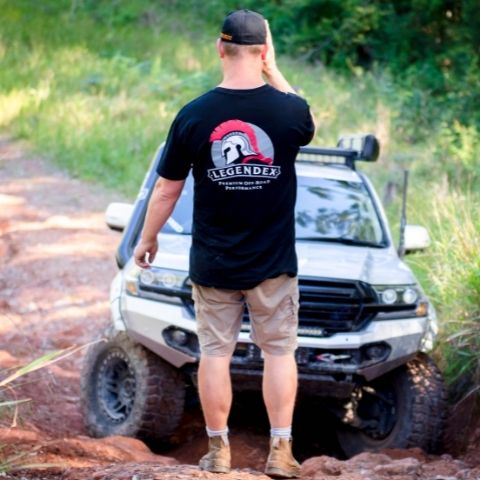
Such a big trip requires a big crew to match. This trip, Chris was joined as always by Barney from Legendex, as well as Aaron from Azventures, Cale from EC Offroad and our old mate Frankie from Explore X Adventure.
This episode is a huge one, so grab yourself a hot (or cold) beverage, find somewhere comfortable and let’s take you on a journey to 4WD heaven – known by the locals as Coffs Harbour.
Heading to Coffs – snags, beers and one big prawn

It was a beautiful, clear morning as we hit the M1 down from Brisbane towards the New South Wales border. We had planned to meet Frankie in Ballina – famous for the Big Prawn.
After the crew was reunited — Barney and Frankie embracing like long-lost cousins — we popped into Bunnings for a quick snag before we made our way to our next stop. Experiencing two icons of Australian culture before we had even arrived at our destination? We knew this trip would be special.
But – before we arrived, we decided to pop into Sanctus Brewing, in Townsend – just over an hour’s drive north of Coffs Harbour.
For anyone heading down this way, we thoroughly recommend checking this place out. The food is fantastic and the beers are beautiful. Plus – there's plenty of opportunity to grab a few takeaways to have round the campfire later.
Arriving in Coffs

After 4 hours of driving and a few stops along the way, we arrived in Coffs for our first night. We rendezvoused with Aaron and got set up for the evening. We were meeting Cale early the next morning, so we just set up camp as quickly as possible (some quicker than others) and went off to sleep.
The next morning, we met Cale and made our way to Coffs Harbour Camping and 4wd, where we’d be setting up camp for the next few nights. This 230-acre estate has direct access to the State Forest, making it a perfect place to base yourself.
Even if you’re going on a family holiday and want to avoid spending the entire time rubbernecking, this is a great spot to camp and explore the Coffs Coast. Not to mention the hospitality of the place is amazing.
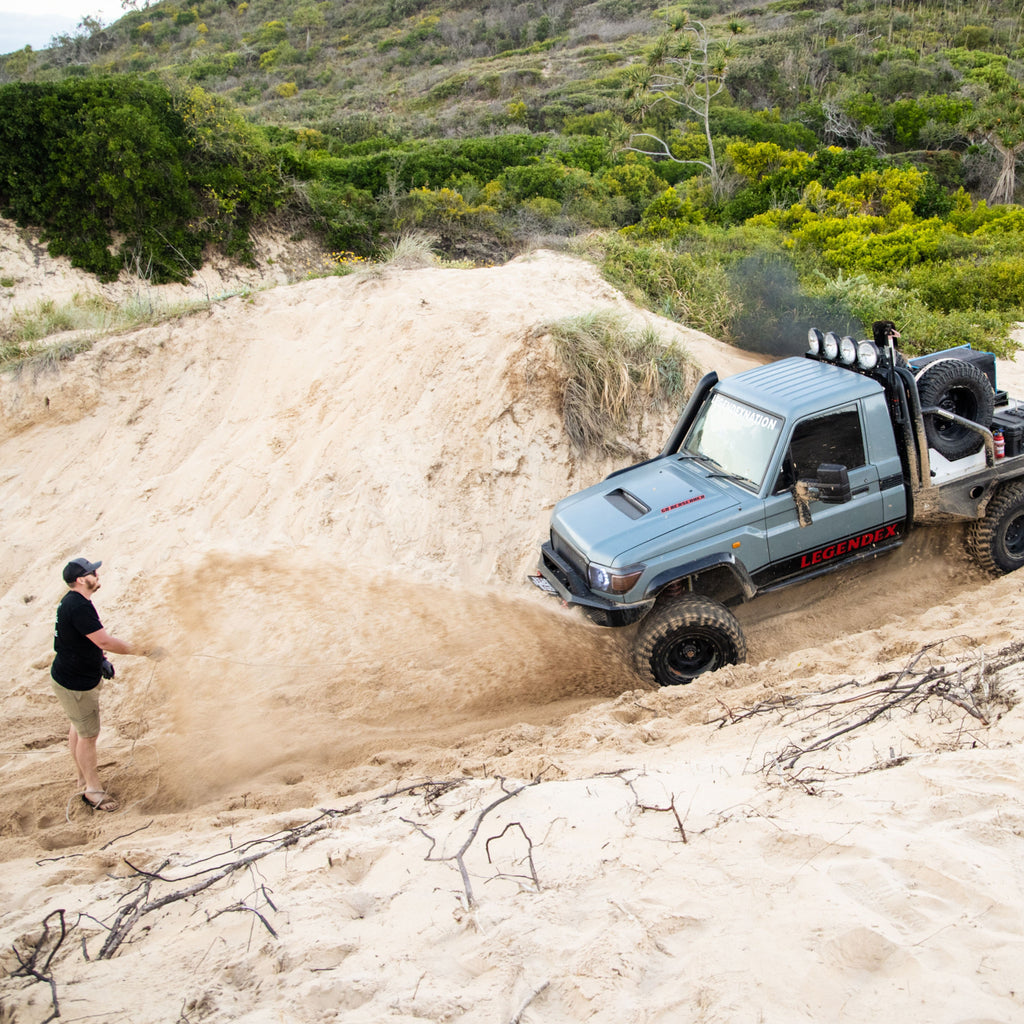
We finally dropped our bags and gear off and headed straight for the forest – to the infamously named ‘Morbid Trail’.
Morbid Trail – Challenges 1 – 5

The Morbid Trail is a medium to tough trail especially after lots of rain and usage, taking you up a steep, rutted track up Mt Coramba. Moreover, it’s one long trail, with 8 challenges of varying difficulty along the way.
This track is one of Frankie’s stomping grounds, so extra pressure was on him to show the crew how it’s done.
As we entered the State Forest, Frankie and Barney also were quick to remind Chris about his misdemeanour at Gordon Country. So, graciously, Barney offered to go first in the convoy and protect Chris.
Despite Chris’ PTSD-like flashbacks to Gordon Country and some touch-and-go moments from Barney, the convoy managed to tackle the first 5 challenges without too many major hiccups.
Special mention to Chris for his sage advice to Barney at the bottom of the fourth hill, “try and drive to the top”.
Another special mention to Frankie for the drive of the day. Taking Chris’ challenge to a race incredibly seriously, Frankie gapped it up the ridge in under 20 seconds — but we don’t recommend trying this at home.
Despite the excitement, nothing was to prepare us for what was about to come.
Morbid Trail – Challenge 6
Despite Frankie’s constant assurances that things get better along the track, the convoy arrived at challenge 6.
A few words spring to mind when we think about Challenge 6: steep, rutted and wombat holes. What more could you want?
Barney led the convoy once again, giving us some great advice on being first in the convoy. In a nutshell, you need to be 100% sure you’ll make it up – otherwise you put yourself and those behind you in real danger.
Barney followed his own advice and made it up to the top, despite a few things falling off the tray — like some Aussie Santa Claus.
Challenge 6 – Az nearly flips

Aaron was next to head up after Barney. To say things didn’t quite go to plan would be an understatement.
After repeatedly being told that “that’s the line”, Aaron slipped so deep into a rute. Hindsight is a beautiful thing, but we think we can safely say that line certainly was not the line.
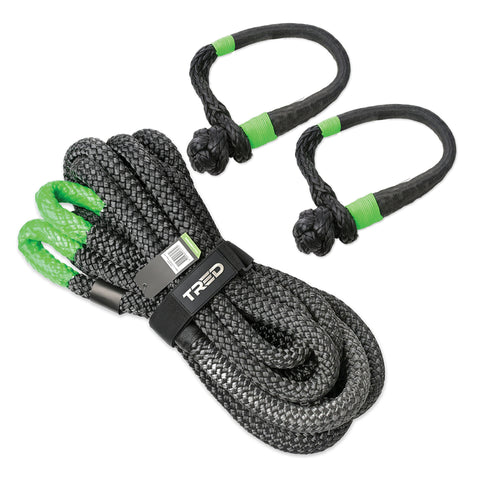
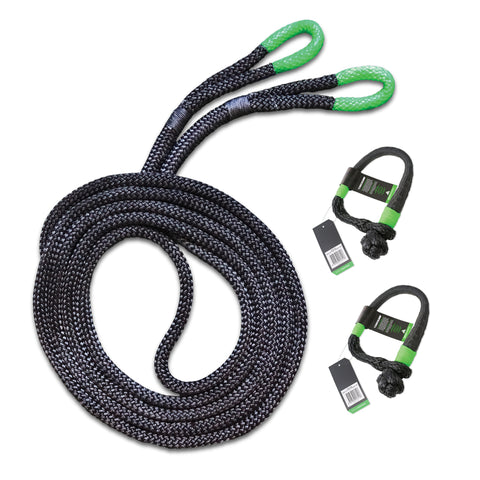
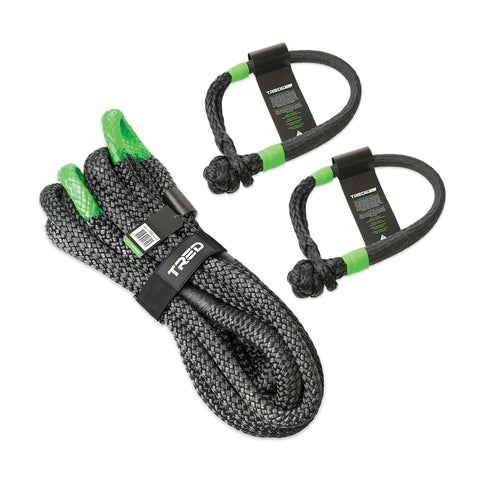
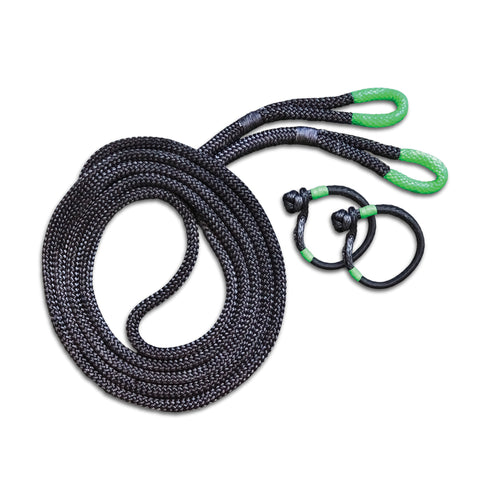
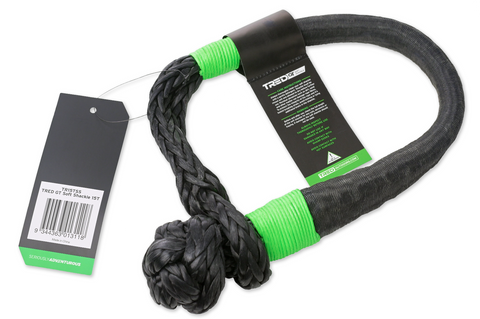
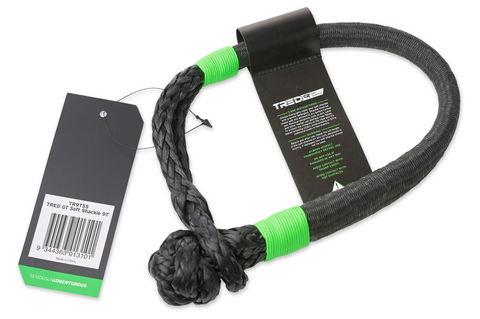
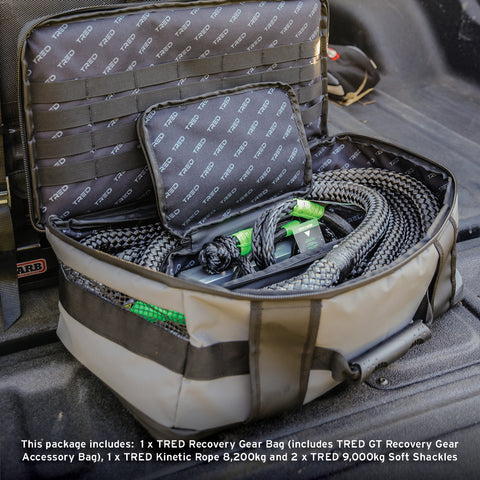
Luckily, a convoy of experienced drivers were also there, and able to attach Aaron’s winch Aaron’s car to a nearby stump and recover him from the tough situation.t. A few tense moments later, Az was up out of the rut and on his way.
While a few members of the convoy were apprehensive after what they had just seen, everybody eventually made it up.
Another special mention to Chris for a HUGE wheel lift that put Barney’s heart in his throat. Two good mates nearly lost in one day – who said wheeling wasn’t for the brave (or reckless)?
The final challenges

With everyone’s palms a little sweatier and heart rates a little quicker, we moved on to the final two challenges of the track. As the sun was setting, we were all pretty keen to knock over the last sections and get back to camp for some well-earned beverages.
Again, things didn’t go quite to plan. Coffs Harbour, hey?
The second-last track opened up to two BIG ruts, leaving almost no driveable track. But you know what they say — if you can’t find a track, build one.
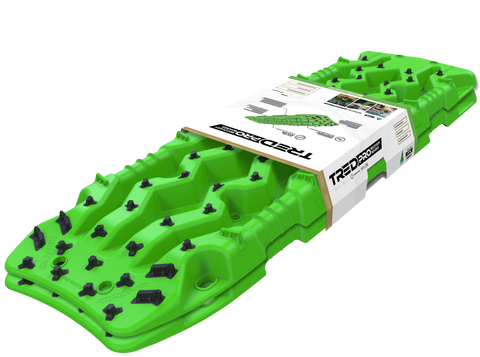
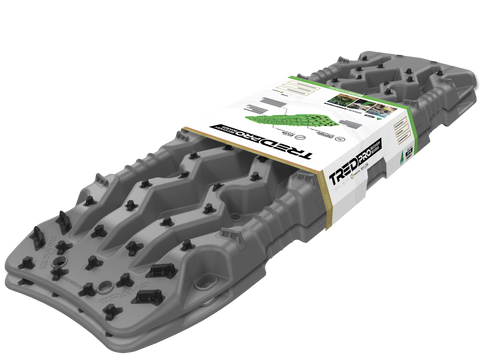
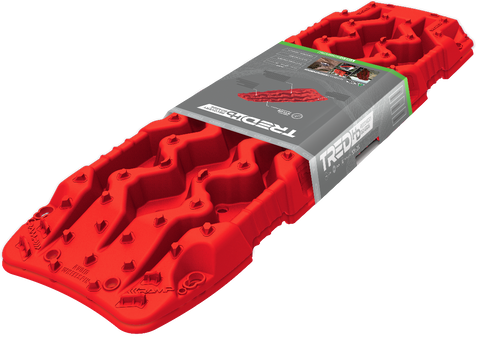
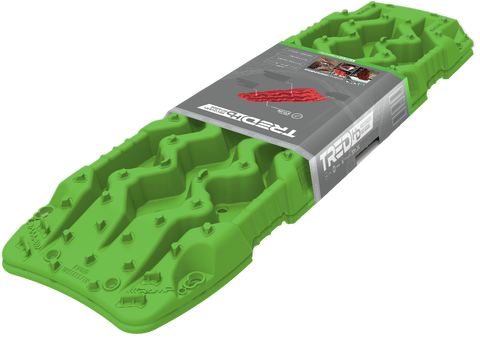
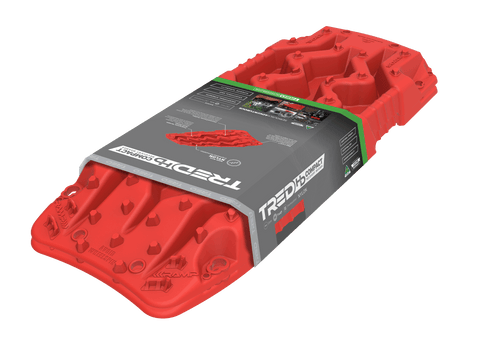
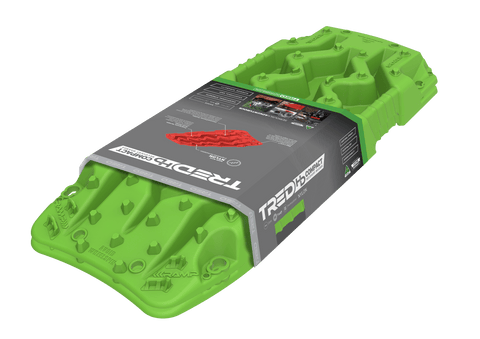
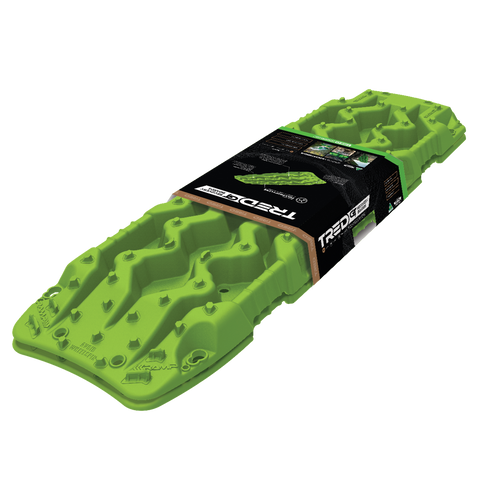
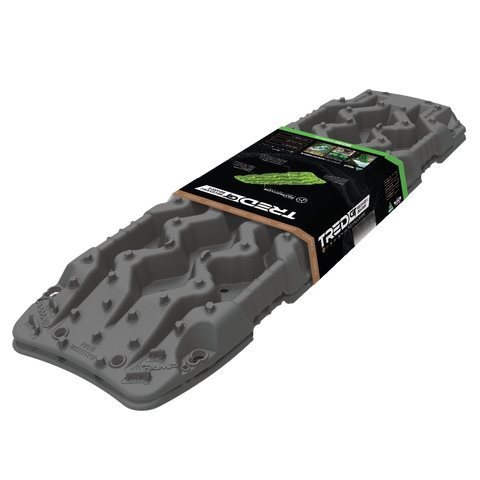
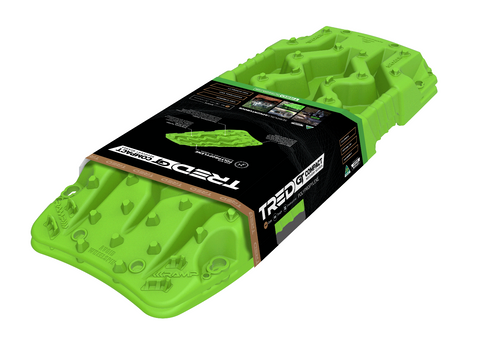
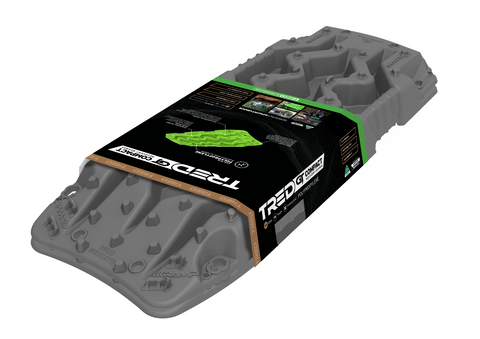
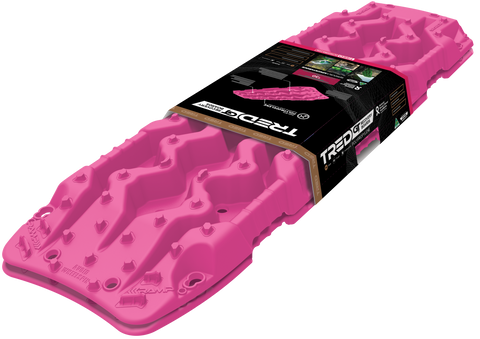
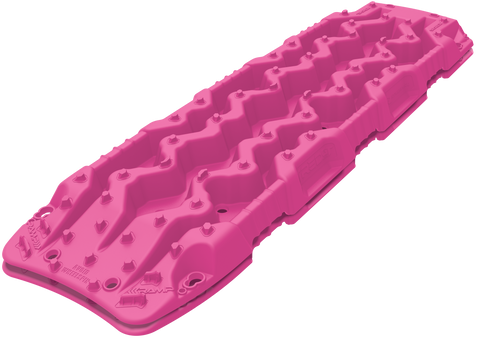
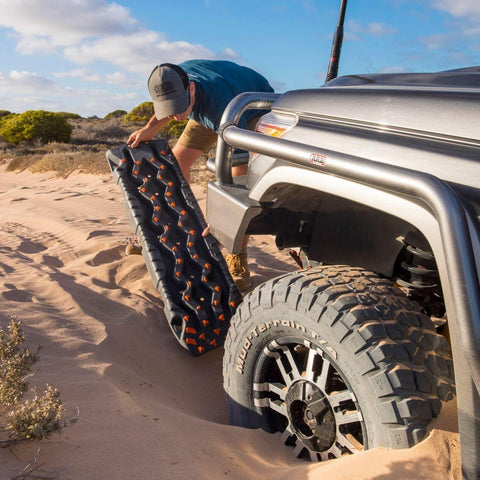
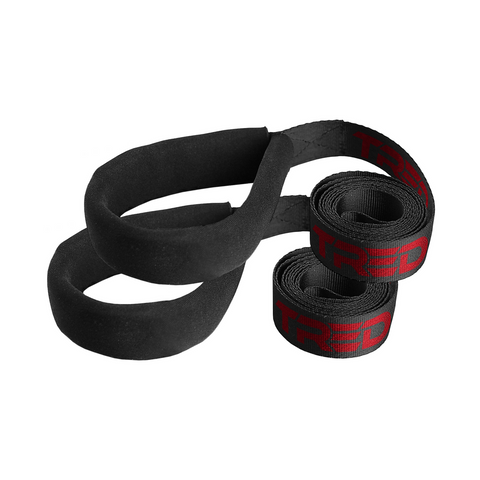
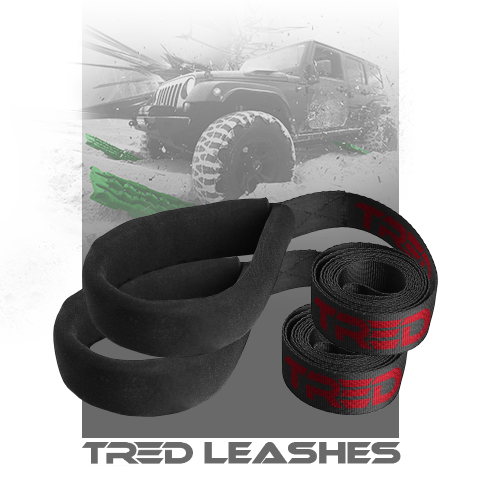
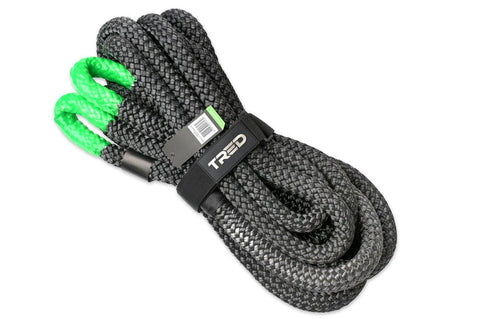
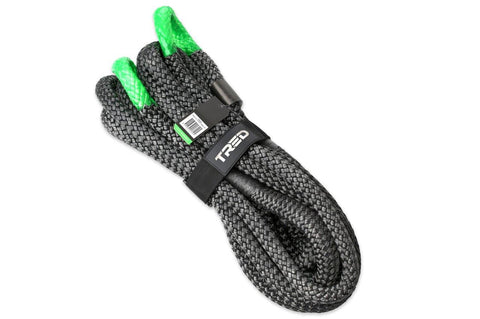
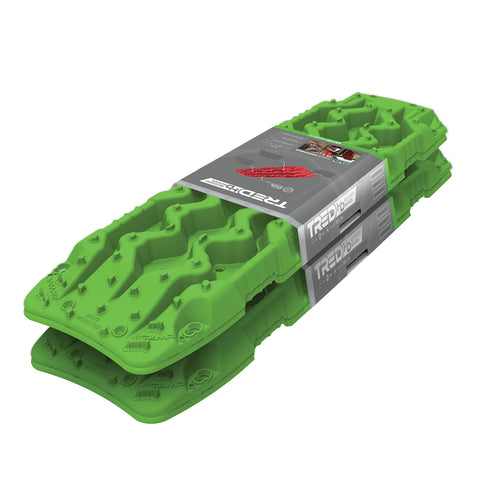
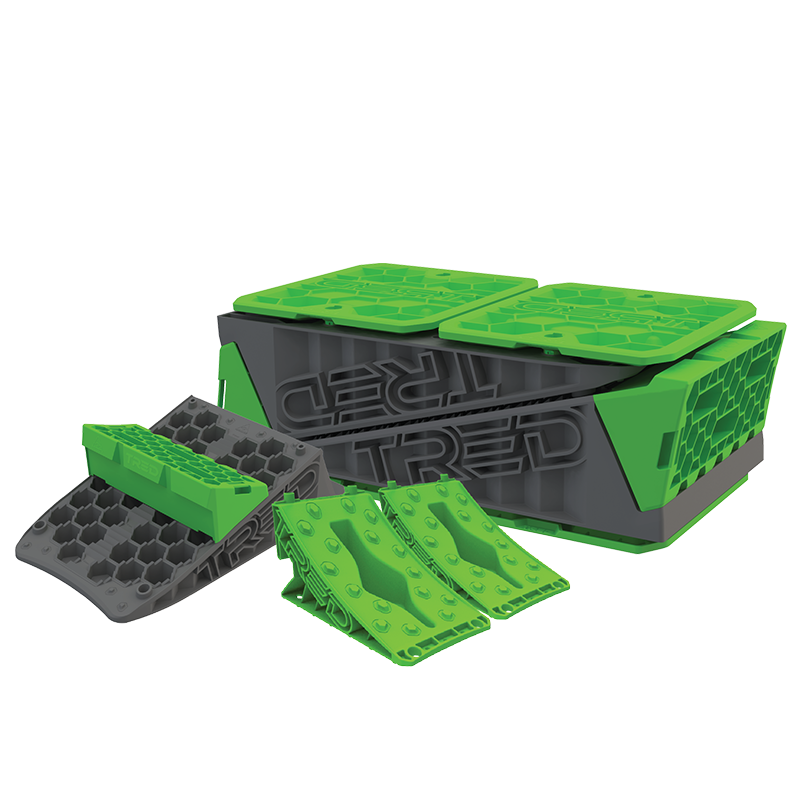
So, with a few carefully placed boulders and TRED recovery boards, we were able to get everyone up the hill relatively smoothly.
Finally, we arrived at the last challenge and could smell the finish line. Apart from a small simple snatch to help Az’s car clear the top of the ridge, the crew made it to the end of the Morbid Trail.
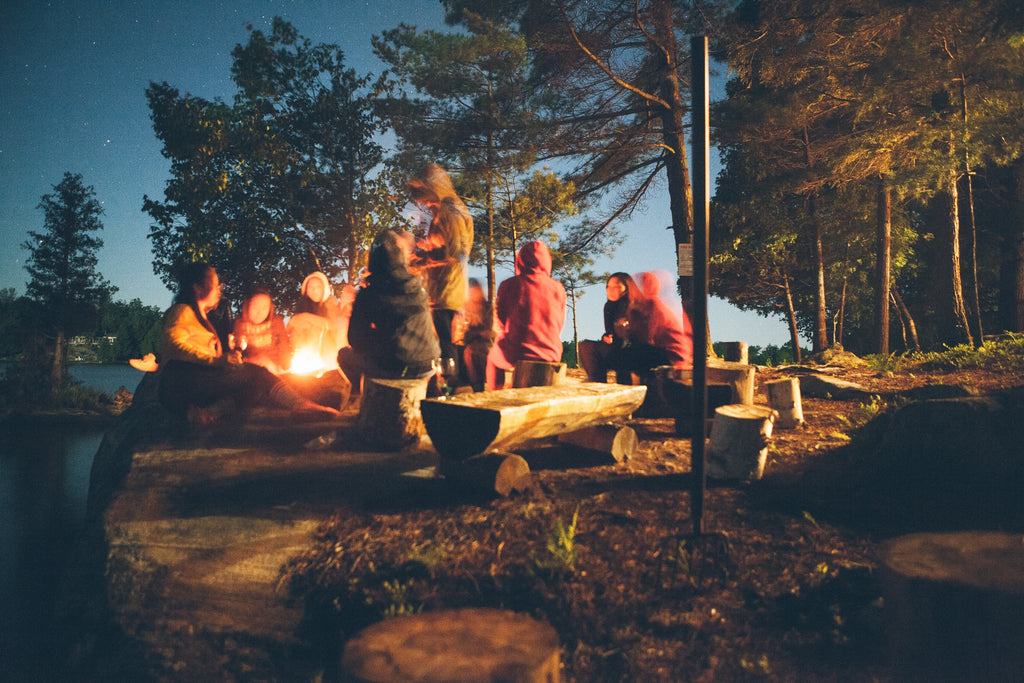
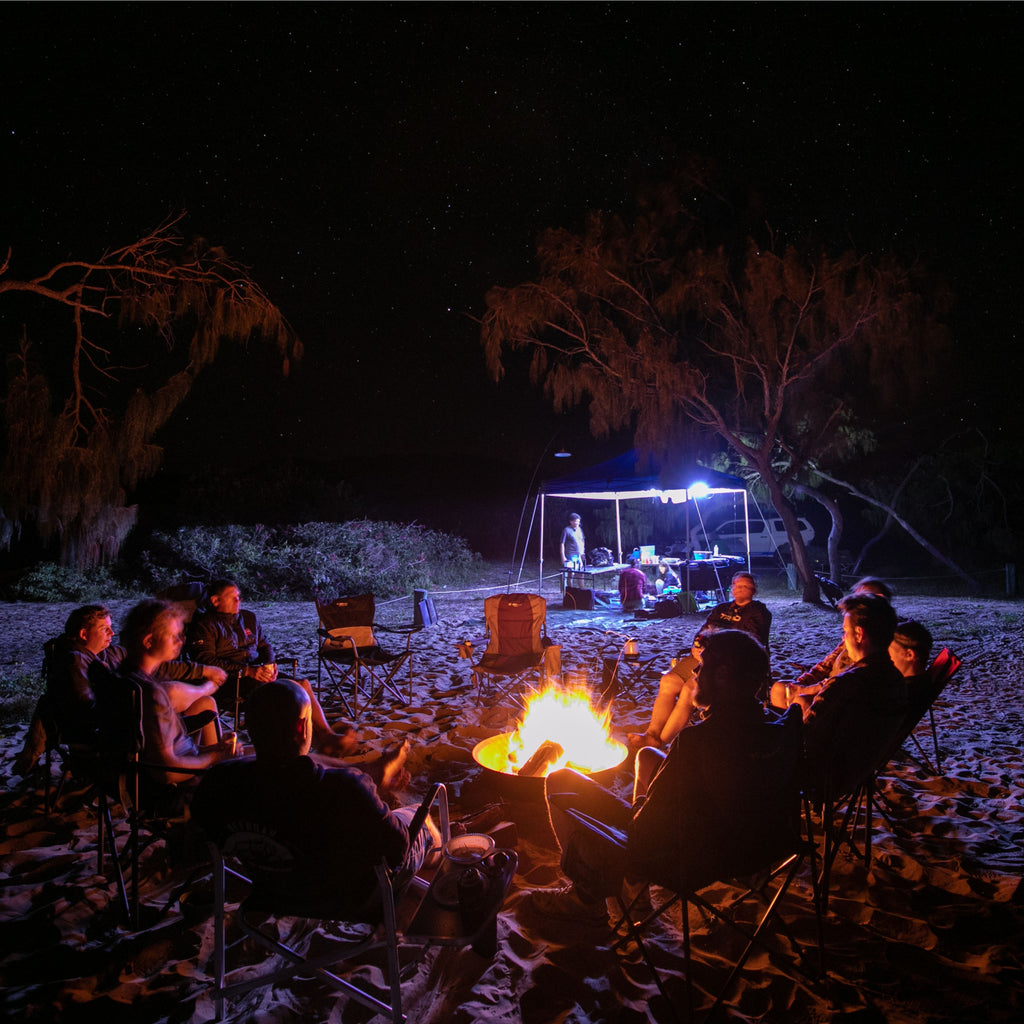
Campsite debrief
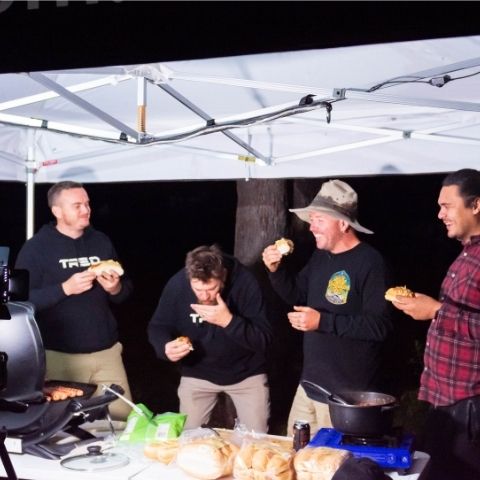
We all made it back to camp in one piece and gathered round the campfire to swap war stories over a few cold beers. And didn’t we have stories aplenty.
Reflecting on the trip, Chris talked about the benefits of wheeling with capable mates around you. Knowing you’re safer in recovery situations, you can always push yourself that little bit harder. So long as you have the right gear and right people around you, anything’s possible.
Coffs Harbour truly set the tone today, so we hope you’re just as excited as we are for what’s to come next... stay tuned!